In this tutorial, we will add a new layer to a single layer dxf file, inside the free version of "CamBam [Beta 0.8] Rel 2". I am working with Design21, a free dxf file.
1) Open CamBam (this will start a new project)
2) “File / Open” (This will open a windows prompt) select a dxf file on your PC, & click the “Open” button.
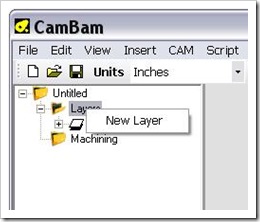
3) Right click on the “Layers” text in the Layers Tree (Left side of the screen) 
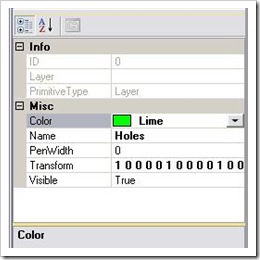
4) In the properties pane, rename the layer, & change the color of the layer (the screenshot below has the properties name changed to “Holes”, & the layer color changed to “Lime”)
5) Hold down the “Ctrl” key on the keyboard, & “Left” click to select multiple dxf objects in the drawing area.
6) “Edit / Copy” (this will copy all the selected objects to memory)
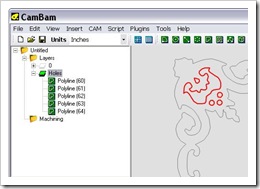
7) “Left” click on the “Holes” layer we created earlier (make sure the “Holes” layer is highlighted)
8) “Edit / Paste” (this will paste a copy of the dxf objects we selected in previous step)
Note:
We now have a new dxf layer, a few things to mention, If you “Right” click on the “Holes” layer in our example, you will have a few self explanatory options (Set as Active Layer, Hide, Show, Delete, Clear, Select All on Layer).
When finished with this example I deleted the default layer “0”, so I wouldn’t have any duplicate layers/vectors.
dxf file
